I've lost count of how many jobs went flawlessly through machining — perfect tolerances, great surface finish, zero issues — only to completely fall apart at the anodizing shop.
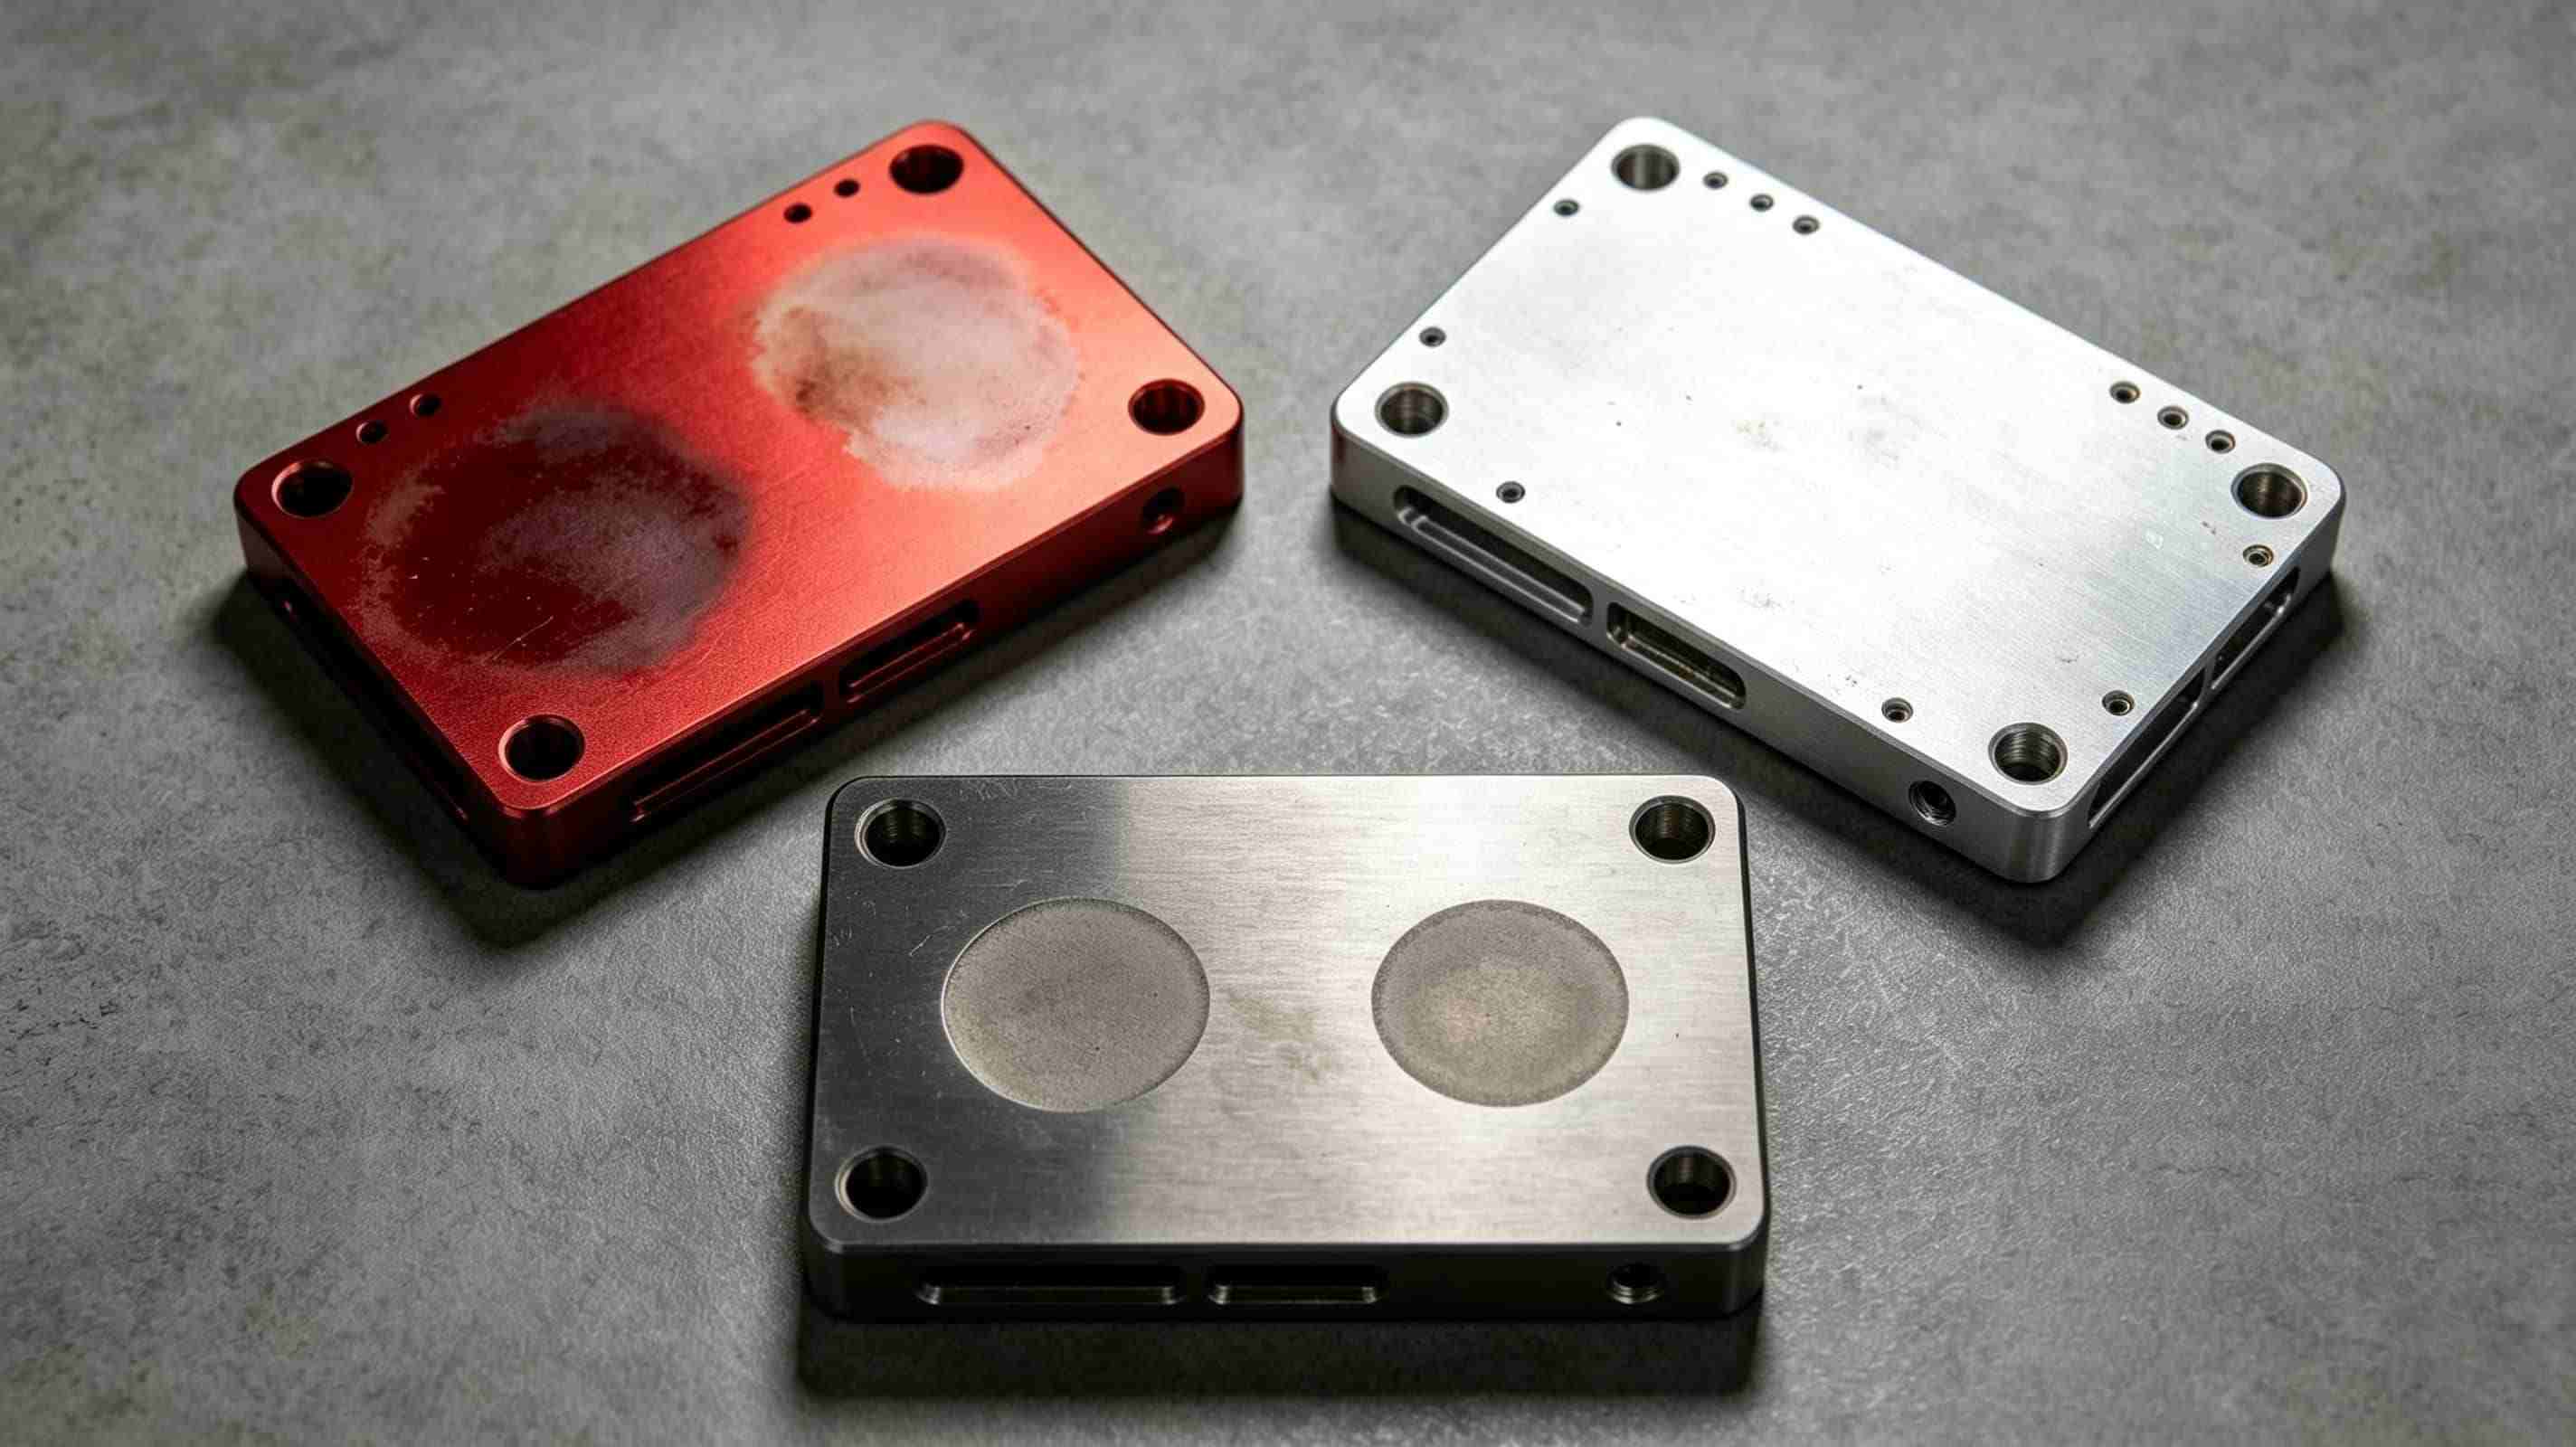
Parts come back with uneven color. Rack marks show up right on the cosmetic face. Hard anodized bores shrink 0.05mm and no longer fit the shaft. Stainless parts come back from passivation with water stains.
And everyone points fingers. The machine shop blames the finisher. The finisher says the parts weren't clean enough. You're stuck holding 200 unusable parts.
After 12 years in this industry, I can tell you: surface finishing is not a last step you tack on at the end. It has to be designed into the part from day one.
We learned this the hard way in 2021, when a 150-piece batch of red anodized test fixtures came back with obvious color variation between two production runs. The client rejected the whole lot. We remade everything at our cost, and rebuilt our entire finishing workflow from scratch.
As we covered in our material selection guide, the alloy you pick directly affects how well the part finishes. 6061 anodizes beautifully; 7075 is streaky and inconsistent. That's not a finishing problem — it's a material selection problem that shows up at the finishing stage. We'll come back to this.
This article covers the problems most suppliers won't tell you about — and how to avoid them.
Anodizing is the standard finish for aluminum parts. It adds corrosion resistance, takes color well, and looks clean. But there's a lot more to it than "pick a color and dip it."
Most buyers have heard of "standard" and "hard" anodizing, but few fully grasp the dimensional impact.
· Type II (standard anodize): Grows an oxide layer 4–12µm thick. Roughly half grows outward, half inward. For most general tolerance parts, the change is negligible. This is your standard colored anodized finish.
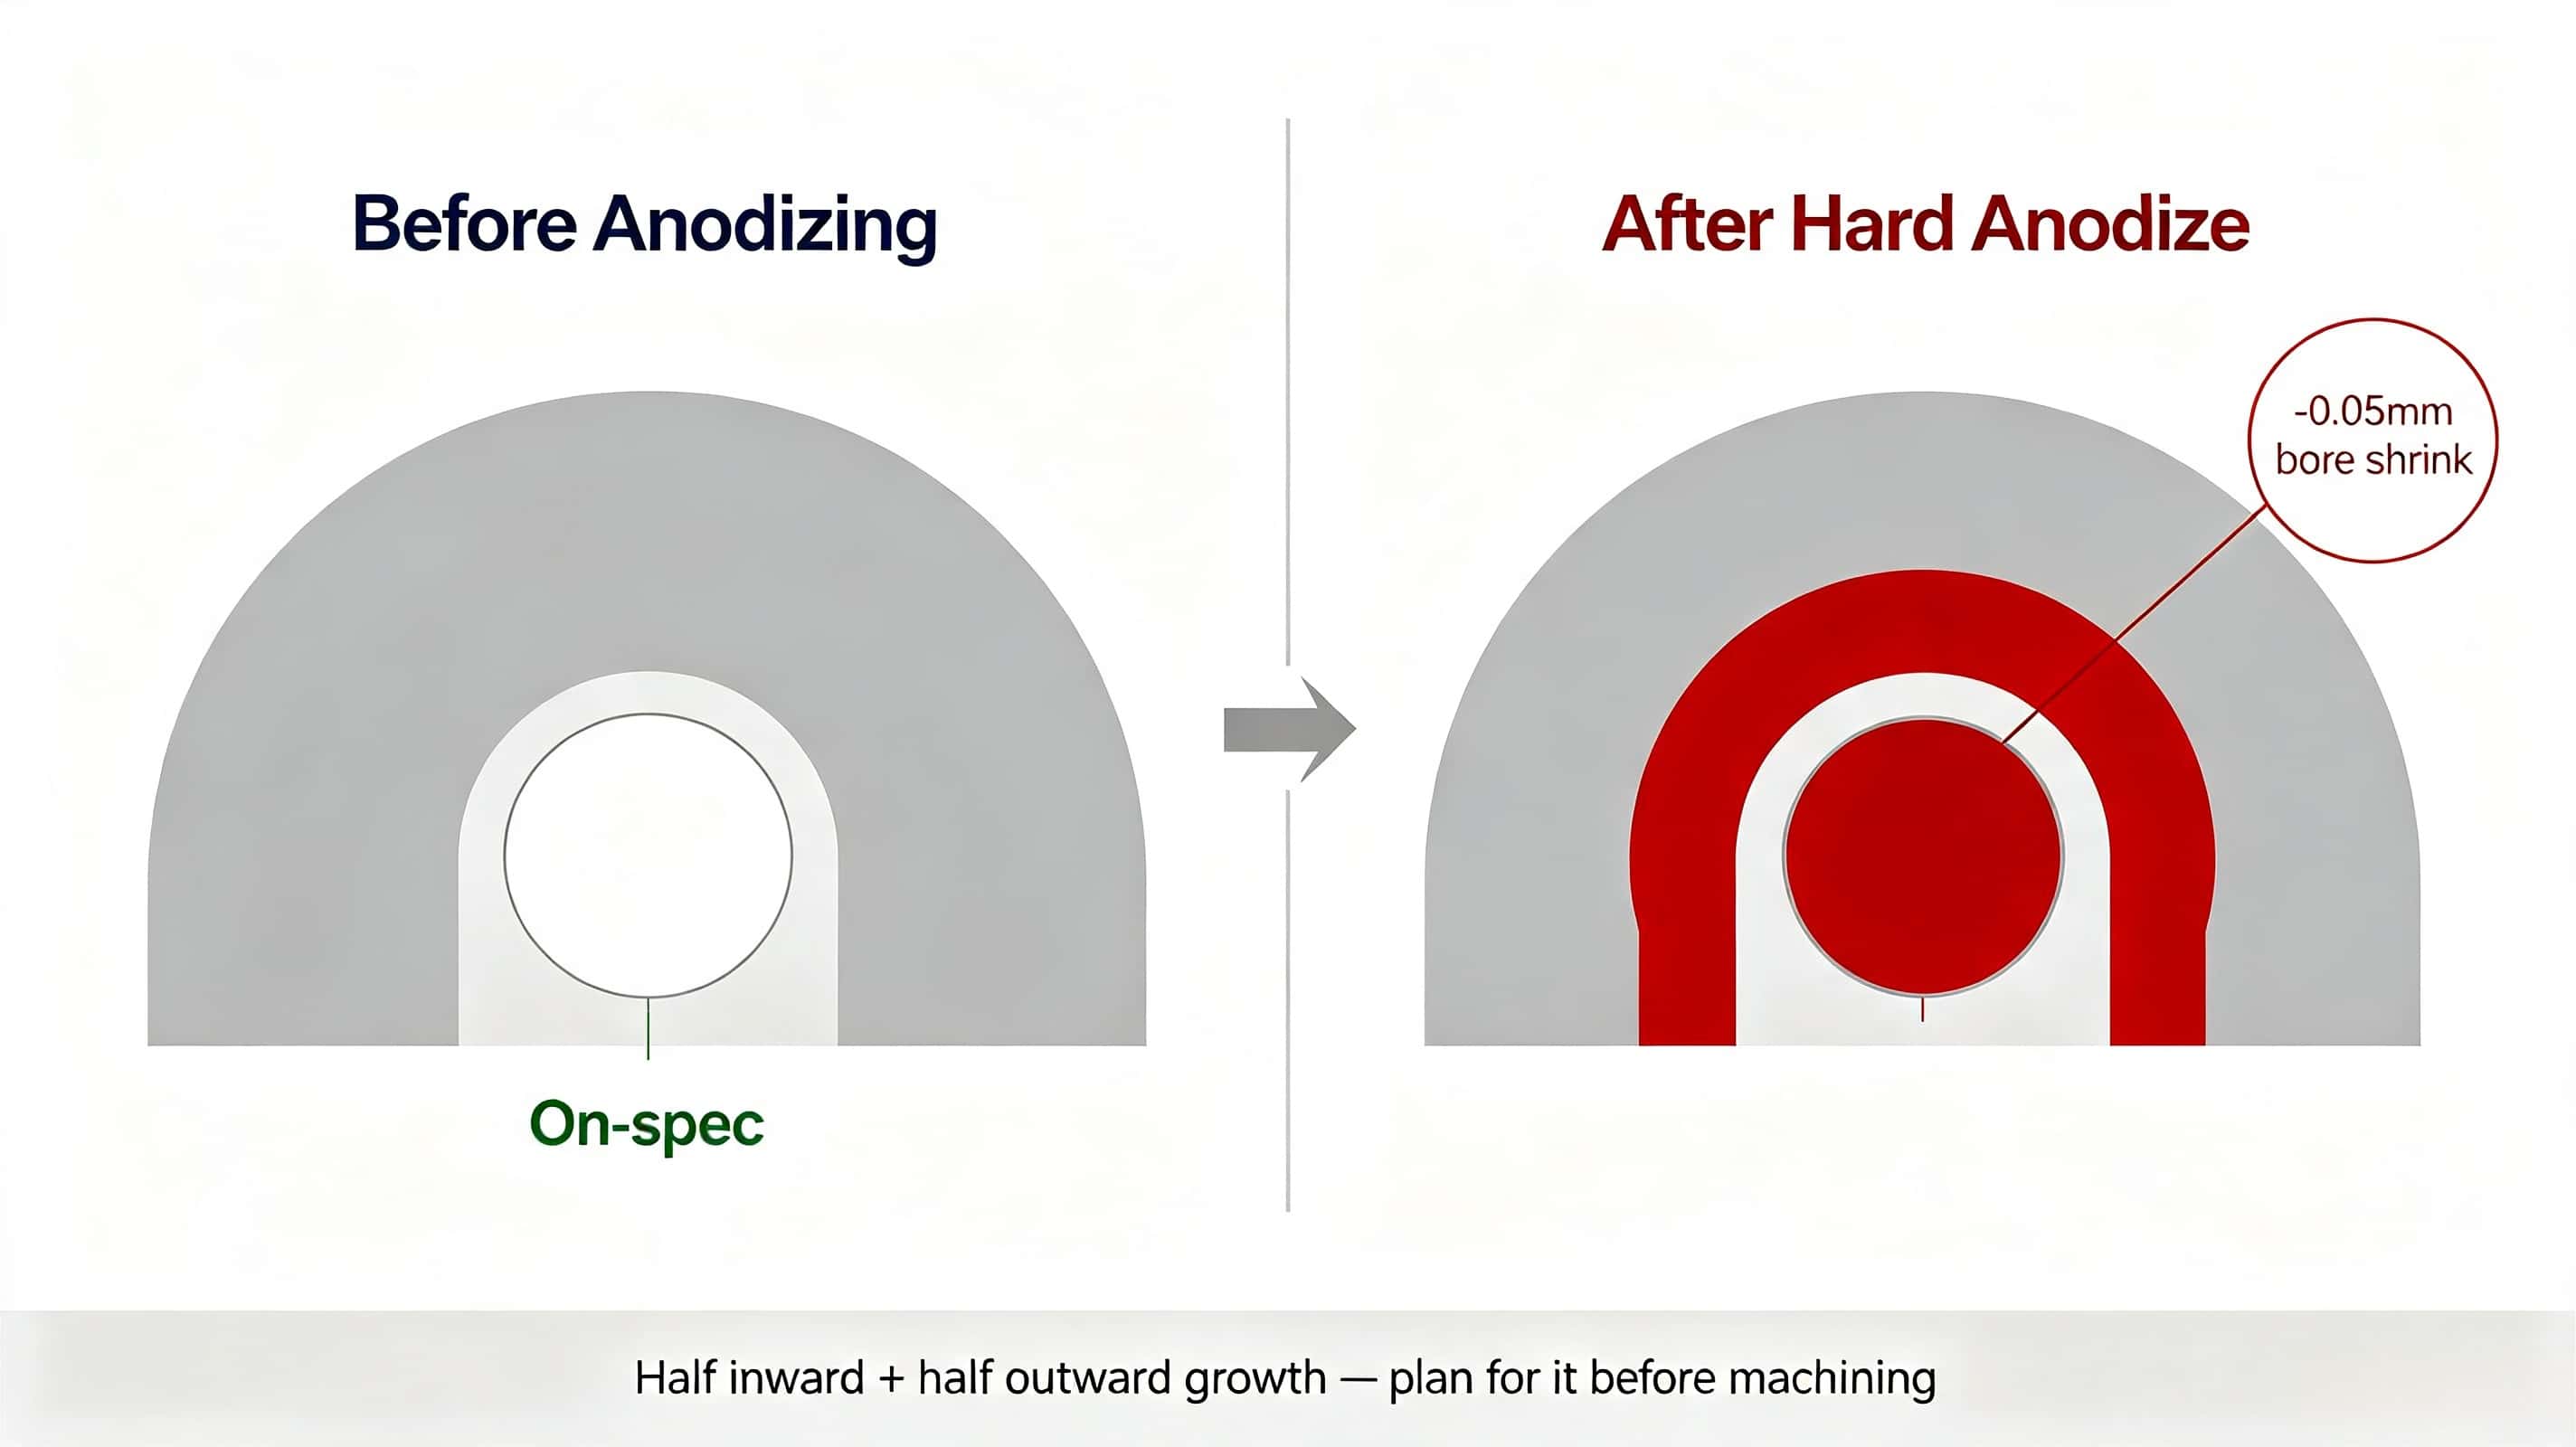
· Type III (hard anodize): Grows a much denser layer, typically ~50µm total. Again, roughly half inward, half outward. On a 20mm bore, that means the bore shrinks by ~0.05mm.
The #1 mistake we see: A buyer specifies Type III hard anodize on a part with ±0.025mm bore tolerance, and never mentions it to the machinist. The parts are machined perfectly to print — then after anodizing, every bore is undersize and the whole batch is scrap.
The fix: Tell your machinist about the finish before programming starts. We compensate dimensions during machining so the finished part lands right on spec. It's simple — if you plan for it. It's a disaster if you don't.
Color anodizing sounds simple. Dip parts in dye, done. Right? Wrong.
Final color depends on the alloy, bath chemistry, temperature, current density and dye time. 6061 anodizes beautifully and consistently. 7075 anodizes streaky and uneven — the copper content in the alloy creates visible banding. Even 6061 can shift slightly between batches from different material suppliers.
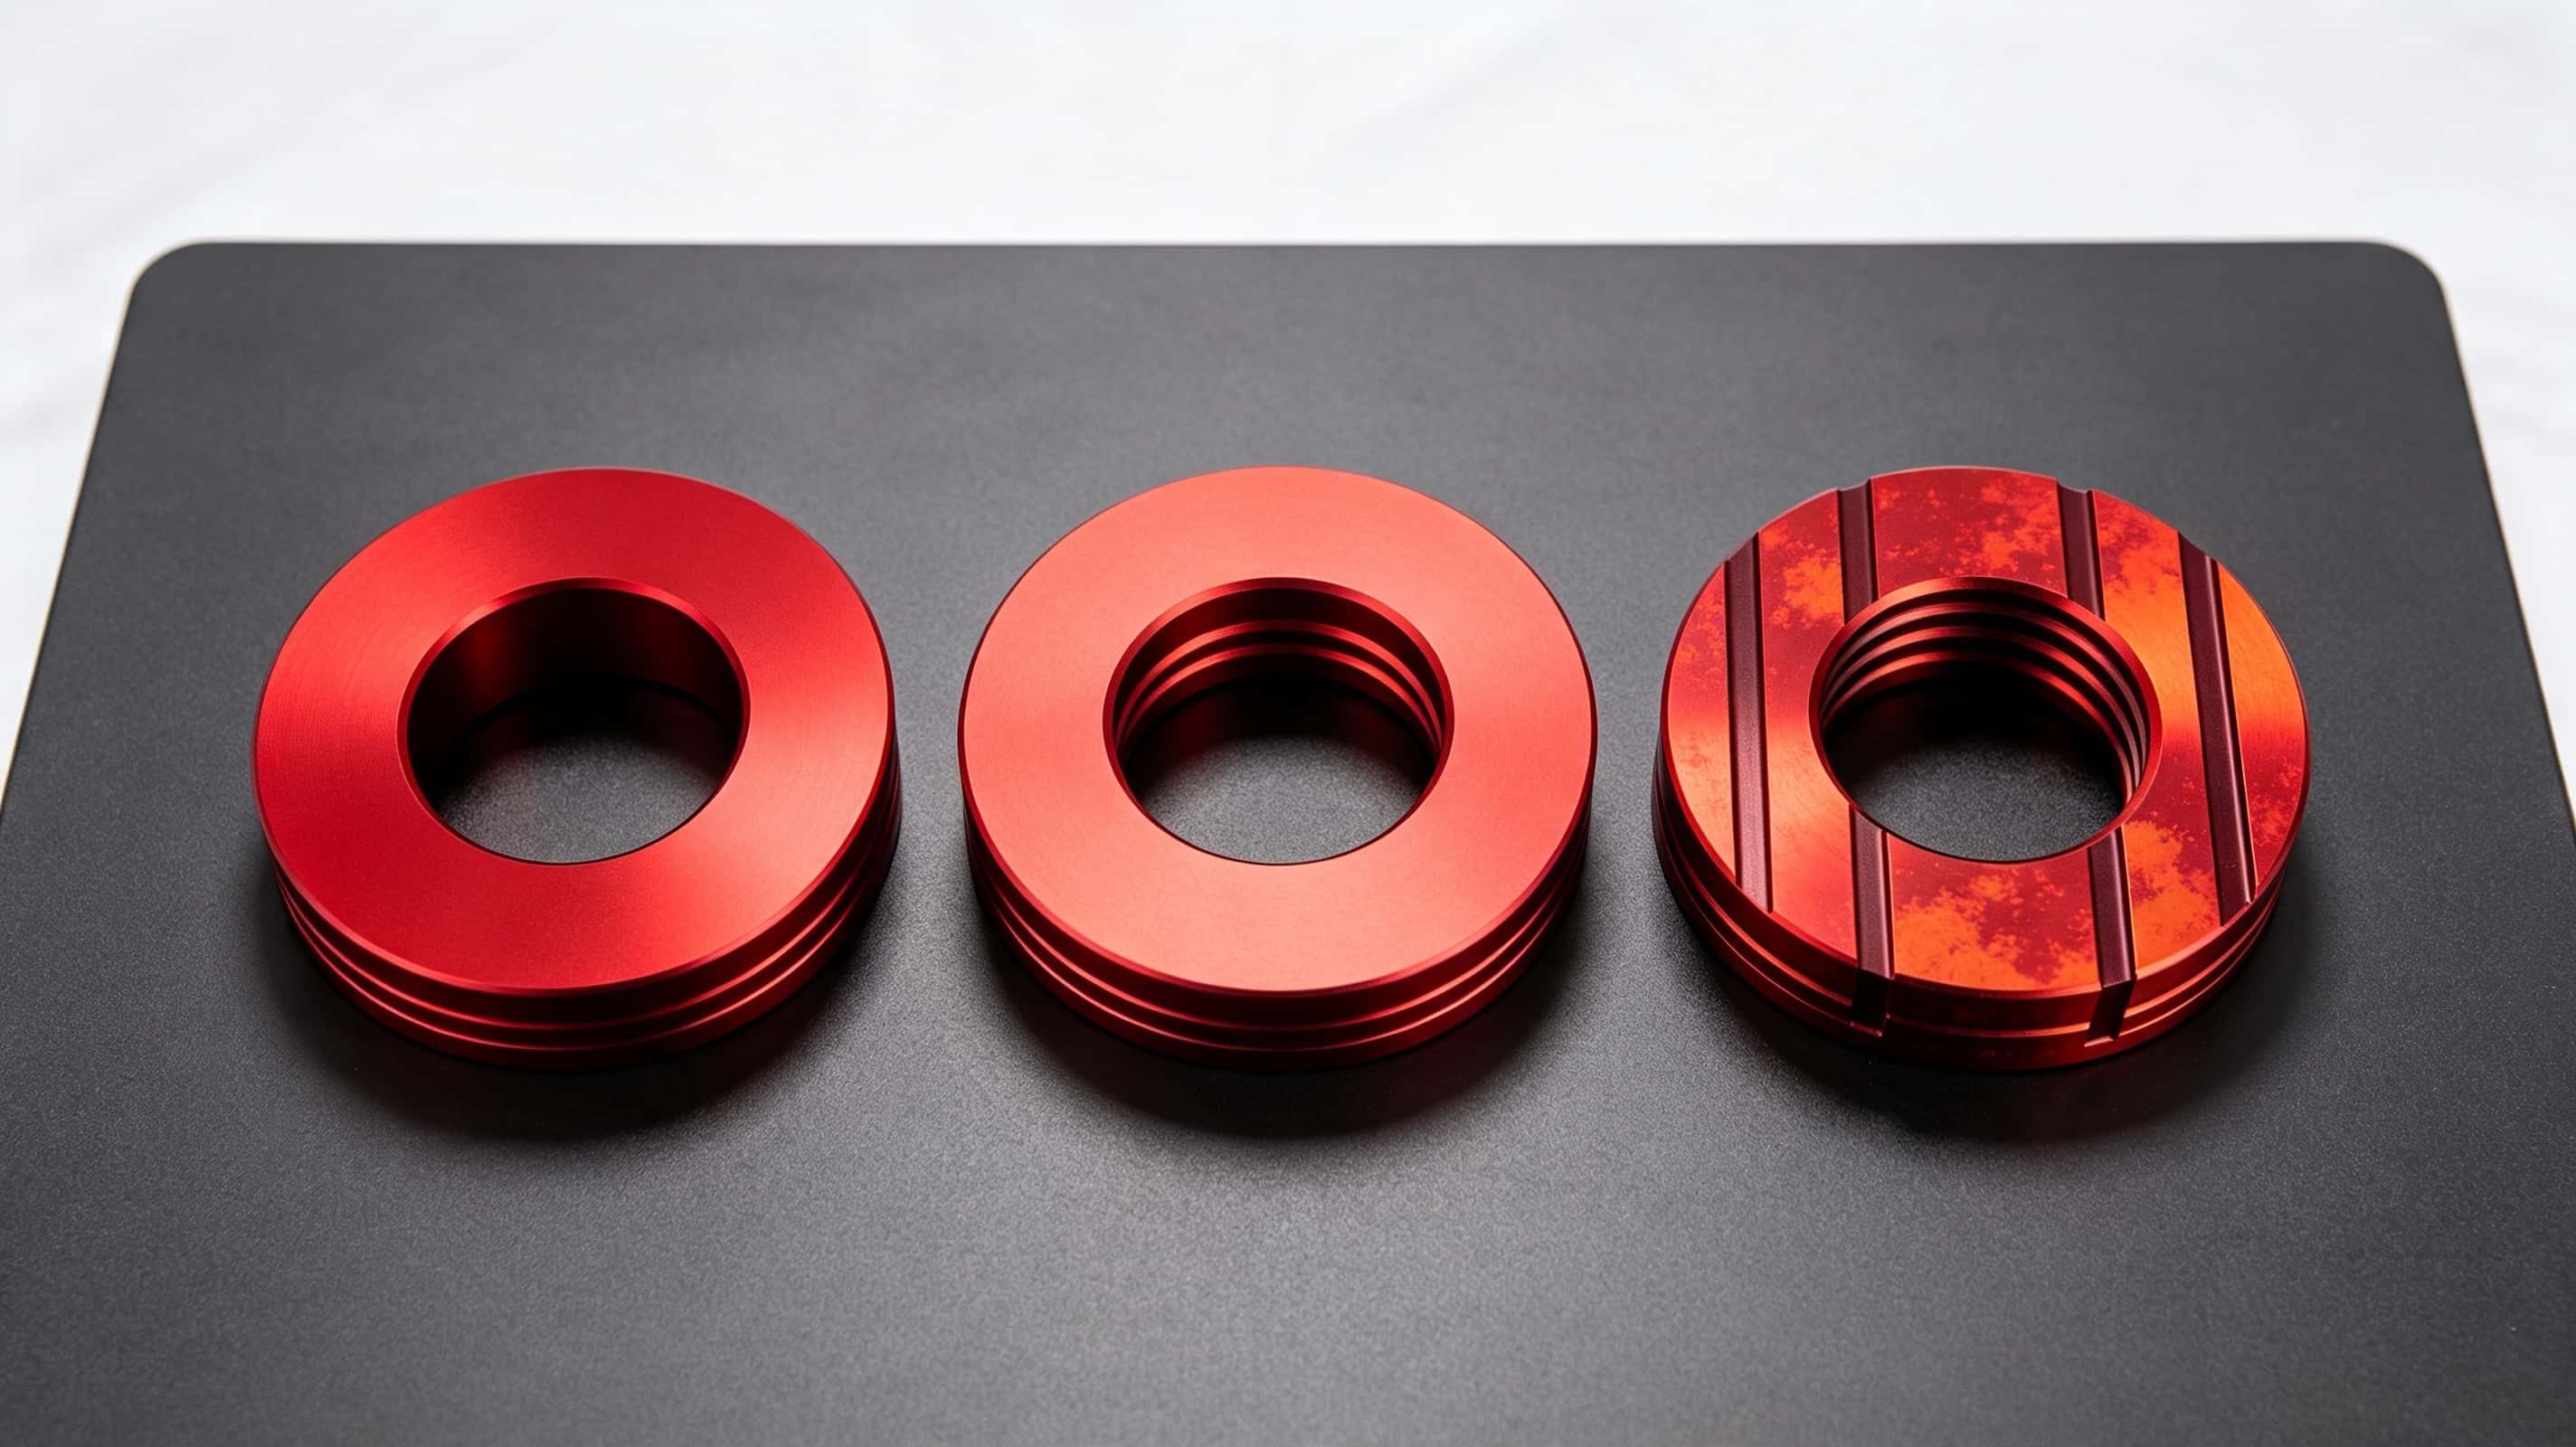
What we do for color-critical parts:
We always run a sample coupon first, from the same material batch, and get client sign-off before processing the full order. We also strongly recommend 6061 over 7075 whenever color consistency matters. It's not always possible, but when it is, it saves everyone a massive headache.
Here's the truth no sales brochure will tell you:
Every anodized part has rack marks.
Parts have to be electrically connected to the bath. The contact points where the rack touches the part will not anodize. There is no way around this.
The mistake most buyers make: they don't specify where rack marks are acceptable. The finisher puts them wherever is easiest. They end up front and center on the cosmetic face. The parts get rejected.
The solution: Mark acceptable rack mark locations on your drawing. Specify non-cosmetic, non-functional faces. We'll pass that directly to the finisher and make sure contacts go where you want them. Pretending rack marks shouldn't exist just guarantees you'll be surprised by them.
Passivation is the standard finish for stainless steel parts. It removes free iron from the surface and builds up the chromium oxide layer for maximum corrosion resistance. The part looks exactly the same before and after. And that's the problem.
Because it's invisible, it's easy to skip. Or to do poorly.
We've had suppliers deliver "passivated" parts that failed salt spray testing after 48 hours. The bath was old, the concentration was off, and they just dipped parts for 2 minutes instead of the full cycle. You'd never know by looking.
How we manage this: We work only with certified finishers, and we run random salt spray audits on a monthly basis. For critical medical and marine parts, we include test coupons with every batch. It's not glamorous work. But it's the only way to be sure the finish actually does what it's supposed to.
This is exactly the kind of hidden cost we wrote about in our CNC pricing breakdown article. The base machining price doesn't tell the whole story.
|
Finish |
Dimensional Change |
Machining Adjustment Needed |
Relative Cost Factor |
|
As-machined |
None |
No |
1.0× |
|
Type II Clear Anodize |
~4–8µm, negligible |
Minimal |
1.2× |
|
Type II Color Anodize |
~4–8µm, negligible |
Minimal |
1.3× |
|
Type III Hard Anodize |
~25µm inward + ~25µm outward |
Yes, significant |
1.8× |
|
Stainless Passivation |
None |
No |
1.1× |
|
Electropolish |
10–30µm material removed |
Yes, must oversize |
1.5× |
|
Powder Coat |
50–150µm added |
Yes, must undersize features |
1.4× |
The takeaway: if your part has tight tolerances and a dimension-changing finish, flag it early. It's much easier to compensate during programming than to fix after the fact.
Before you finalize your drawing, run through these:
1.Functional or cosmetic? Type III for wear/corrosion. Type II color is fine for just looking good.
2.Does the finish change dimensions? Hard anodize, powder coat and electropolish all do. Plan for it.
3.Where are rack marks OK? Mark them on the drawing. Don't make your supplier guess.
4.Is color critical? Use 6061 if possible. Get a color sample approved first.
5.How tight is your tolerance? If you're under ±0.025mm, talk through finish effects with your machinist first.
Surface finishing doesn't have to be a surprise. But it will be, if you treat it as an afterthought.
The best approach is simple: pick your finish early, account for its effects during design and machining, and communicate clearly with your finisher. Most finishing disasters happen because someone skipped one of those three steps.
Worried about a finish on your next project? Send us your drawing and finish spec. We'll flag potential issues before you place the order — not after parts come back wrong.
Teléfono : 0755-23596843
WhatsApp : +86-13267211181
Correo electrónico : sales02@gt-proto.com
No.18, Shaqi Community Center Road, Xinqiao Street, Baoan District, Shenzhen, Guangdong Province, China 518104
Links :
test© 2026 Shenzhen GT prototipo Co., Ltd. Reservados todos los derechos.
mapa del sitioPolítica de privacidadXml